--------------------------------
This is part 2 of my write-up of PentesterLab’s Bootcamp course. If you see any errors or want to suggest I do something different, please contact me to let me know.
Write-up parts 1, 2, 3, 4, 5.1, 5.2, 6.
--------------------------------
                   * * * [ DISCLAIMER ] * * *
/*
 * All information in this write-up is, to the best of my knowledge,
 * truthful and accurate. However, I am only new to this, and I am
 * learning as I go, so it is entirely possible something contained
 * within this write-up is incorrect in some way. Never execute any
 * command, without knowing for sure what it is you are doing. Look
 * at the man pages of all commands if you do not understand them.
 *
 * I take no responsibility if you decide to use this information
 * to commit illegal acts. If you attempt to use these techniques
 * against devices or networks you do not either own, or have
 * permission to attack, you could end up in prison.
 *
 */
--------------------------------
--[ Step 2 ]
The second step in the course is titled HTTP. It asks us to install Apache into the VM, and configure correctly so we can navigate to the site on our host browser. I will also assign the name ‘vulnerable’ to the VM in the host file.
I will then write some HTTP clients in Python to retrieve the home page of our site. Finally I will check out Burp Suite and view the requests and responses that are sent and received when visiting a website.
--------------------------------
--[ Installing Apache ]
Installing Apache is quite straight forward. After updating your system to ensure your repositories are up to date, we install Apache:
$ sudo apt-get update
$ sudo apt-get install apache2
Once it is complete, it should already be up and running. To ensure it is working, open your browser and navigate to ‘localhost’ or ‘127.0.0.1’. It should display this page:
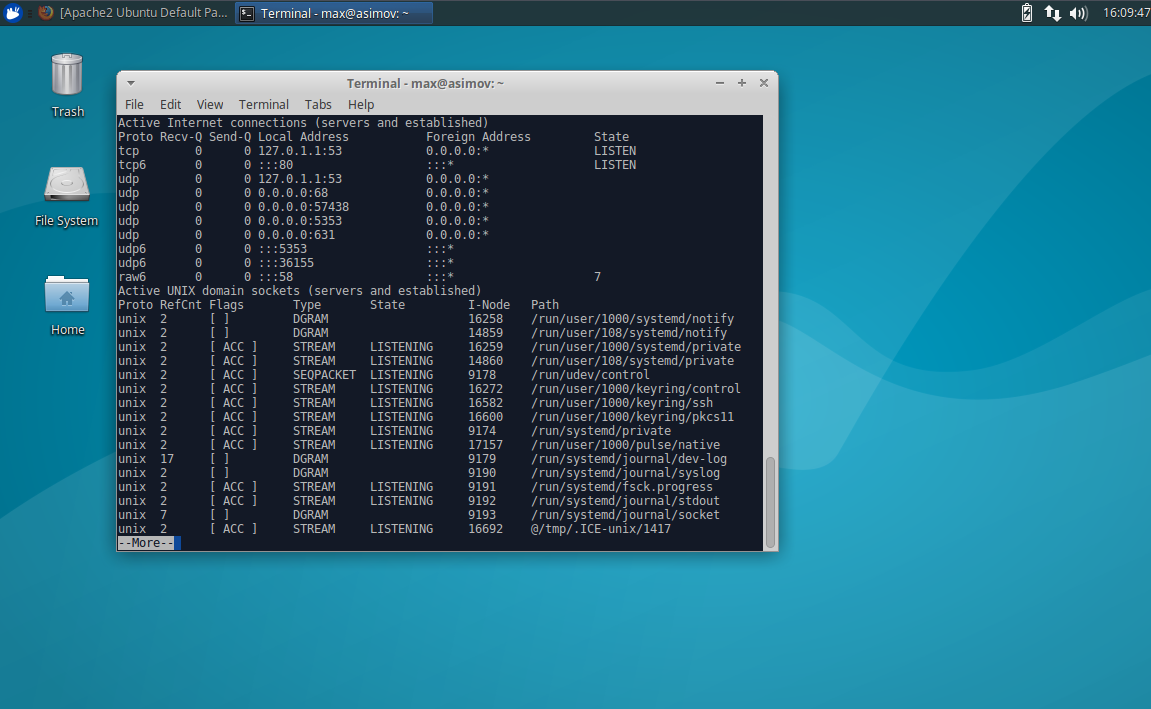
To check further, type this command into the terminal:
$ netstat -an | moreNetstat prints the network connections, among other things, of your system. In this case we are checking to see if the system is listening on port 80. As we can see from this screenshot, it is.
Run the following to find your IP address:
$ ifconfig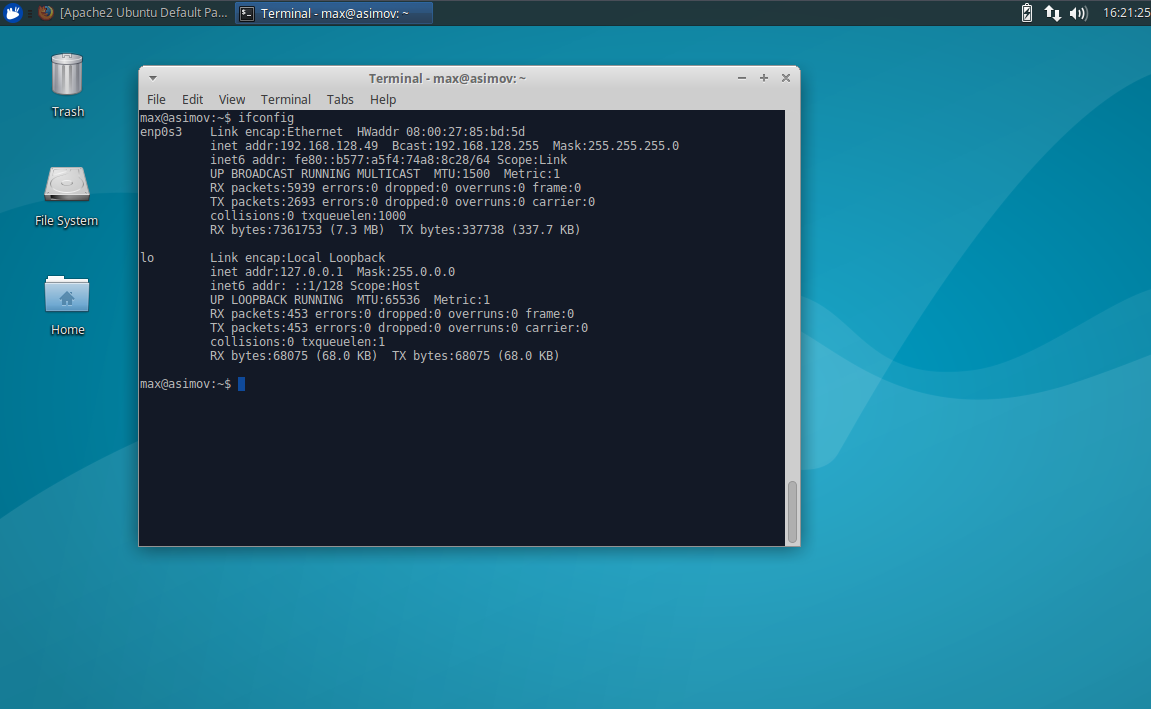
We can see here our IP address for the webserver is 192.168.128.49. Use that address in your host browser and it should be able to access it as well.
--------------------------------
--[ Changing the Home Page ]
Another reasonably easy step. The HTML index file that is the home page can be found at /var/www/html/index.html, and can be edited with a text editor.
$ sudo nano /var/www/html/index.html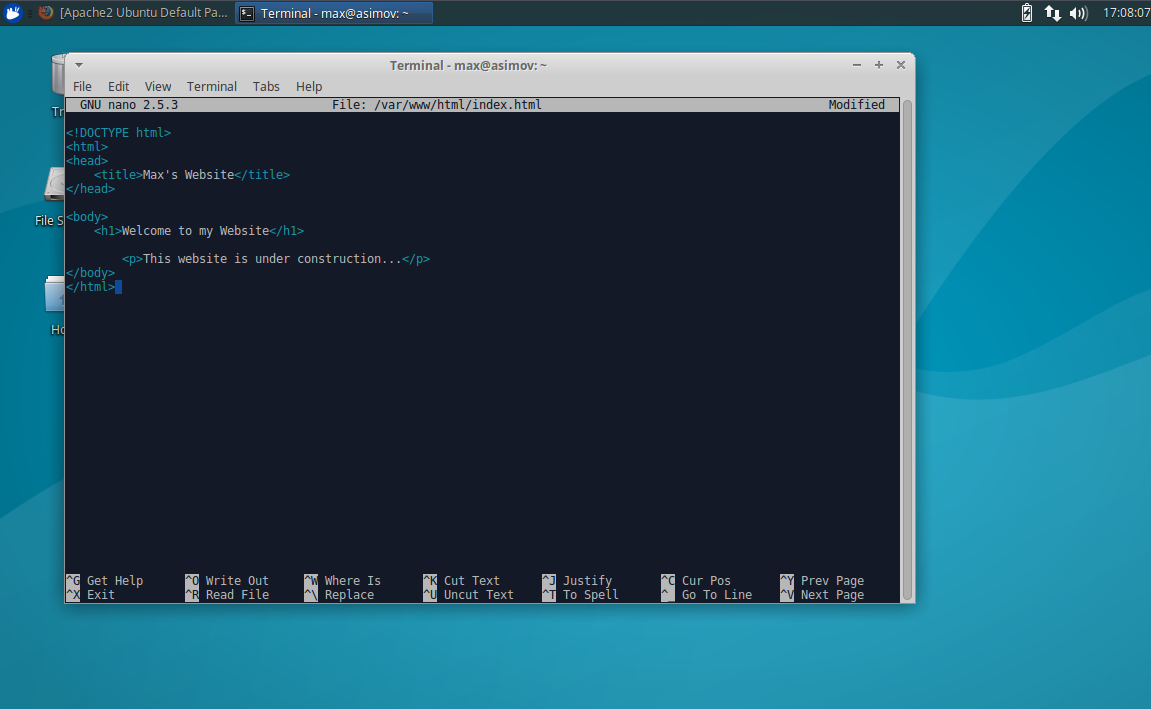
We can then change the HTML code and change the home page of the website.

--------------------------------
--[ Changing the Hosts File ]
To assign the Linux system as ‘vulnerable’ we need to edit the hosts file. It is located at /etc/hosts. To edit it type:
$ sudo nano /etc/hostsThen add the IP address that we found via ifconfig, and assign the name vulnerable.
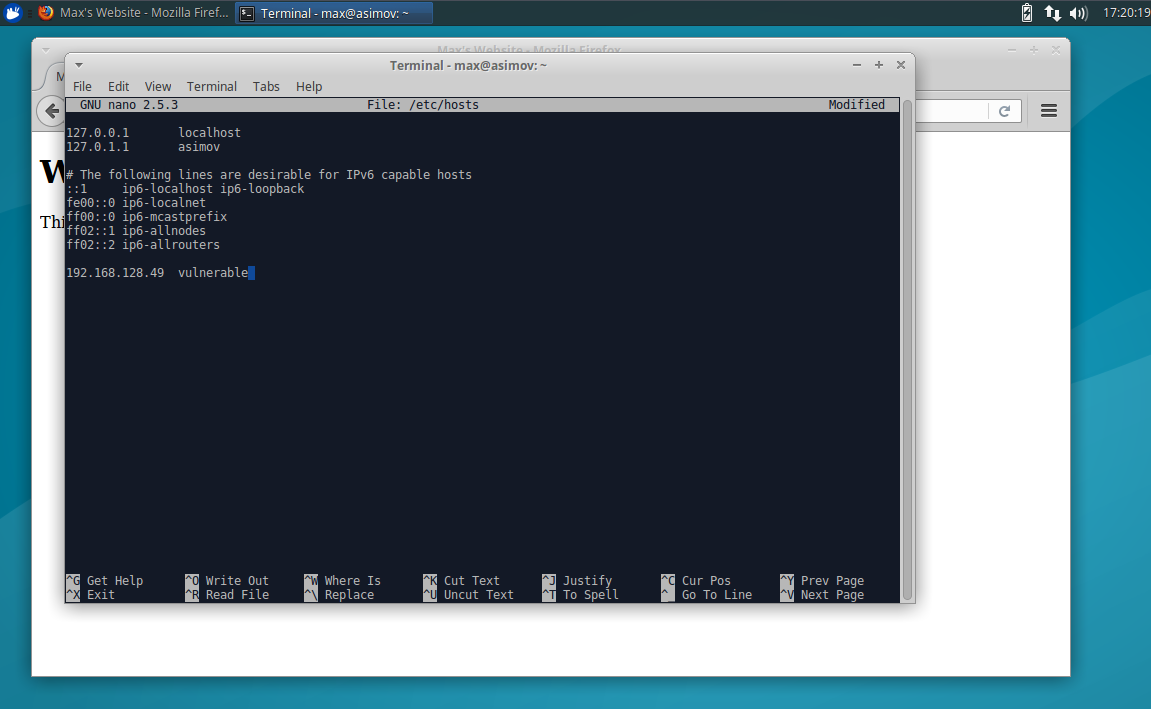
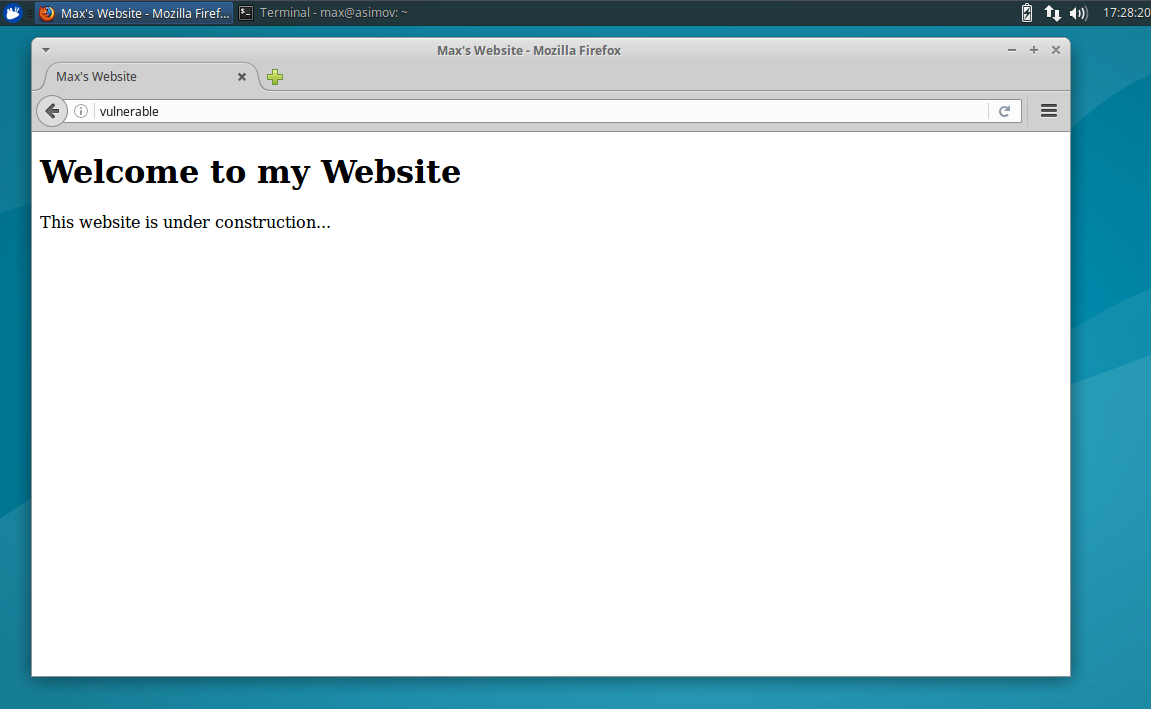
Then to access the page in the browser simply type ‘vulnerable’ in the address bar.
--------------------------------
--[ Writing HTTP Clients ]
I will write some HTTP clients, which send a HTTP GET request to the site that will essentially retrieve HTML code from the website as a response.
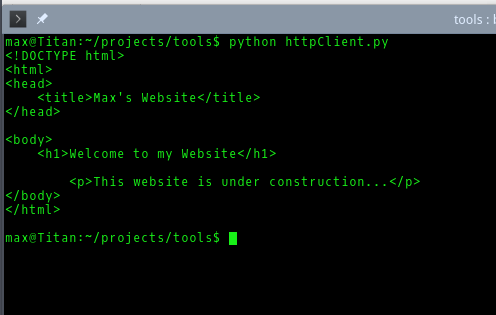
The first HTTP client I wrote in Python using the urllib2 library.
1
2
3
4
5
6
7
8
9
10
#!/usr/bin/python
# HTTP Client

import urllib2

r = urllib2.urlopen('http://vulnerable/')

print r.read()

r.close()
When executed it displays the response, which is the HTML code that we used to build the homepage.
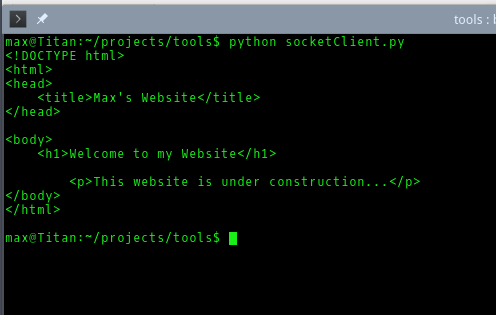
Next I wrote an HTTP client, again in Python, using a socket.
1
2
3
4
5
6
7
8
9
10
11
12
13
#!/usr/bin/python
# HTTP Client with Socket

import socket

s = socket.socket(socket.AF_INET, socket.SOCK_STREAM)

s.connect(("vulnerable" , 80))

s.sendall("GET /\r\n")
print s.recv(4096)

s.close
Again, when executed it displays the response, which is the HTML code that we used to build the homepage.
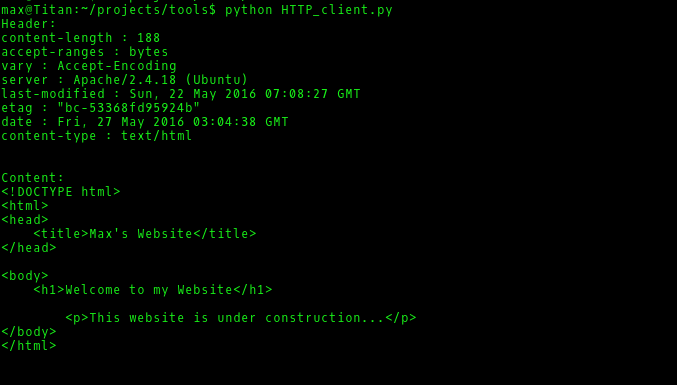
EDIT: Although PentesterLab states the HTTP Client must only retrieve the home page from the site, I decided to add another script that is probably a better HTTP Client as it pulls the HTTP header information as well. It can also be modified easily to send a POST request, rather than just a GET request.
1
2
3
4
5
6
7
8
9
10
11
12
13
14
15
16
17
18
19
20
21
22
23
24
25
#!/usr/bin/python
# HTTP Client with Header Info

import httplib

# connect to HTTP server, send GET request, receive response
h = httplib.HTTPConnection('vulnerable')
h.request('GET', '')
r = h.getresponse()

# get and print HTTP header response
rh = r.getheaders()
print 'Header:'
for i in rh:
    print i[0], ':', i[1]
print '\n'

# get and print content of response
rr = r.read()
print 'Content:'
print rr
print '\n'

# close HTTP connection to server
h.close()
--------------------------------
--[ Burp Suite ]
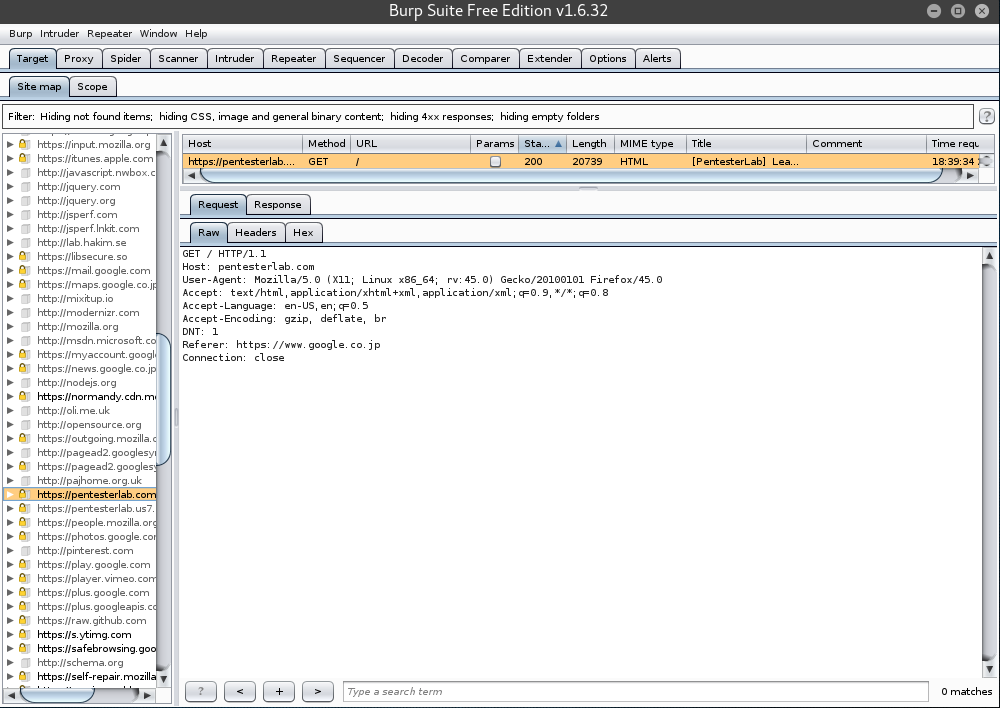
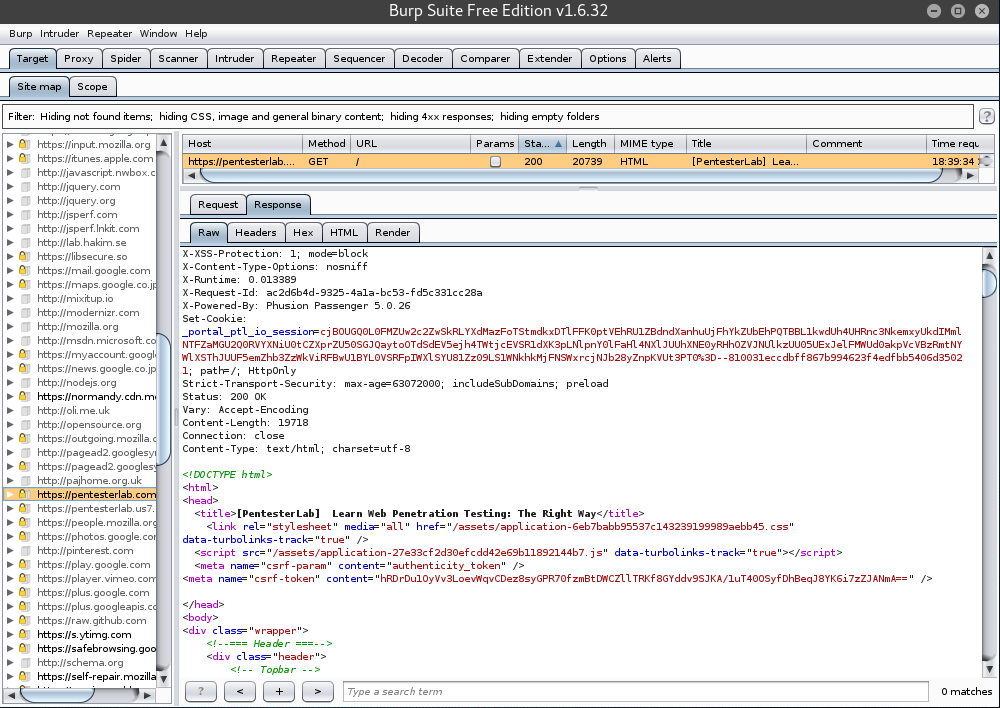
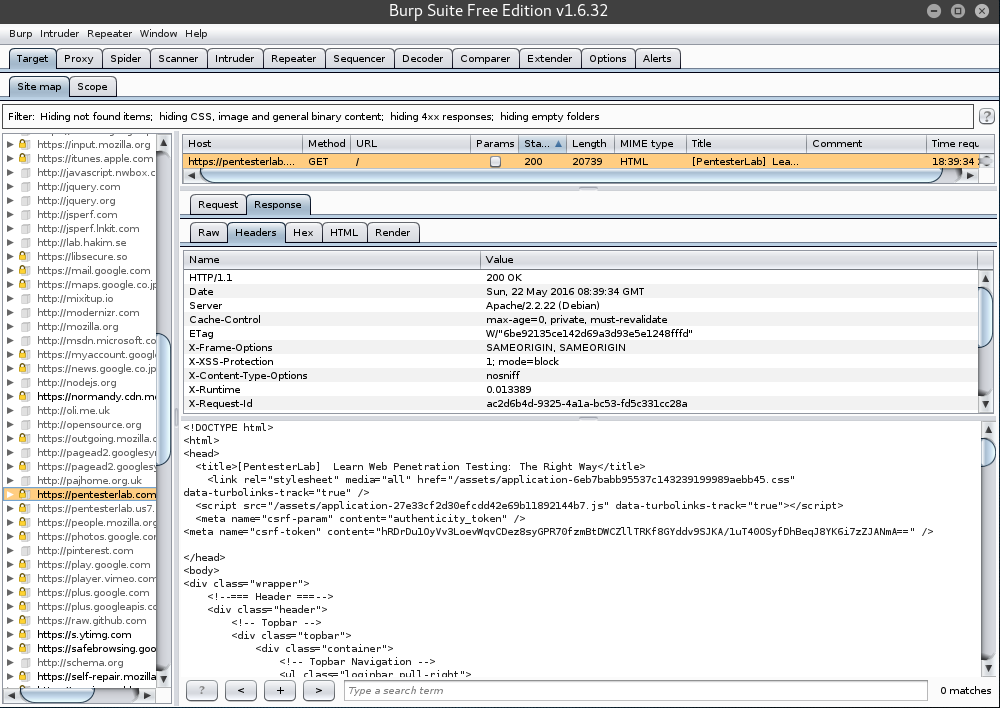
Finally, we will see what requests are sent and what responses are received when visiting a website while using Burp Suite.
--------------------------------
/*** Part 1 - Linux and Scripting ***/
/*** Part 3 - PHP and DNS ***/
/*** Part 4 - SSL/TLS ***/
/*** Part 5.1 - SQL Injection ***/
/*** Part 5.2 - Local File Include ***/
/*** Part 6 - More SQL Injection ***/
/*** Part 7- FTP and Traffic Analysis COMING SOON ***/
--------------------------------
 Creative Commons Attribution 4.0 International License