--------------------------------
This is part 3 of my write-up of PentesterLab’s Bootcamp course. If you see any errors or want to suggest I do something different, please contact me to let me know.
Write-up parts 1, 2, 3, 4, 5.1, 5.2, 6.
--------------------------------
                   * * * [ DISCLAIMER ] * * *
/*
 * All information in this write-up is, to the best of my knowledge,
 * truthful and accurate. However, I am only new to this, and I am
 * learning as I go, so it is entirely possible something contained
 * within this write-up is incorrect in some way. Never execute any
 * command, without knowing for sure what it is you are doing. Look
 * at the man pages of all commands if you do not understand them.
 *
 * I take no responsibility if you decide to use this information
 * to commit illegal acts. If you attempt to use these techniques
 * against devices or networks you do not either own, or have
 * permission to attack, you could end up in prison.
 *
 */
--------------------------------
--[ Step 3 ]
This write-up includes some basic PHP and MySQL, and a look into basic DNS lookup tools including whois and dig.
I will go over the installtion and testing of MySQL and PHP, and then cover some basic scripts that achieve what is asked of us for this stage of the bootcamp course.
This write-up will end with a look at some of the information gathered through the DNS lookup tools.
--------------------------------
--[ Installing PHP and MySQL ]
Before installing new software packages always be sure to run an update. Once it has completed, we can install MySQL and PHP.
First MySQL:
$ sudo apt-get update
$ sudo apt-get install mysql-server
After this has completed, we can now install PHP, remembering to restart Apache to ensure the changes are recognised:
$ sudo apt-get install php libapache2-mod-php php-mcrypt php-mysql
$ sudo /etc/init.d/apache2 restart
To ensure PHP is working as intended, we will run a short info script and check it in our browser. First we create a file titled testphp.php in /var/www/html.
$ sudo nano /var/www/html/testphp.phpWe then enter this simple PHP script, save and exit.
1
 <?php phpinfo(); ?>
When we navigate to localhost/testphp.php in our browser we should see this:
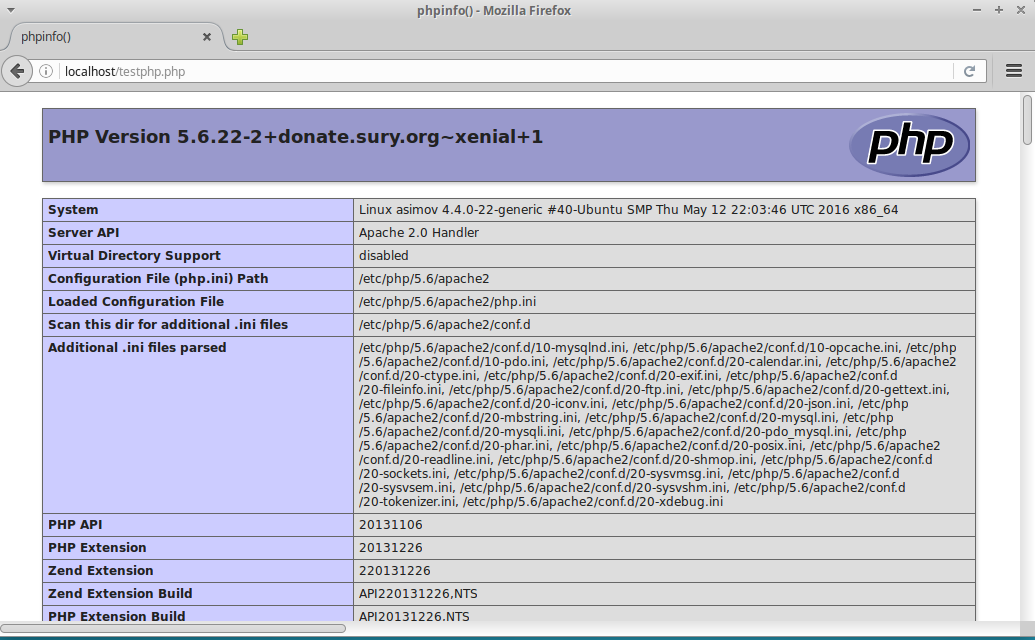
This confirms the PHP information and that it is working correctly on our system.
--------------------------------
--[ PHP Script ]
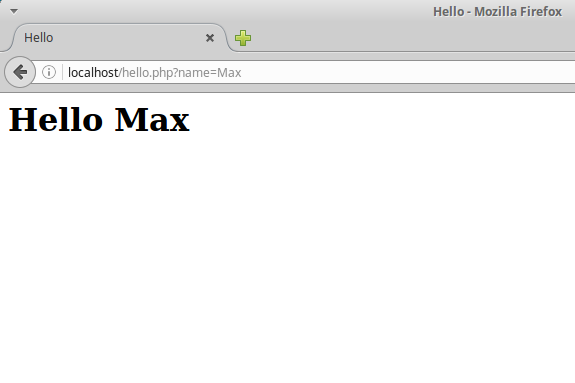
Now, we are requested to write a PHP script that echoes back a parameter in the URL. So, if we navigate to http://vulnerable/hello.php?name=Max, it should display “Hello Max” in the browser.
To achieve this I wrote this simple script.
1
2
3
4
5
6
7
8
9
10
11
12
13
14
15
<html>
	<head>
		<title> Hello </title>
	</head>

	<body>
	<?php

	// The value of the variable name is found
	echo "<h1>Hello " . $_GET["name"] . "</h1>";

	?>

	</body>
</html>
The $_GET is a superglobal built-in variable in PHP, that, when called, passes the value of a variable that is defined in the URL.
So then, if we access localhost/hello.php?name=Max it will result in:
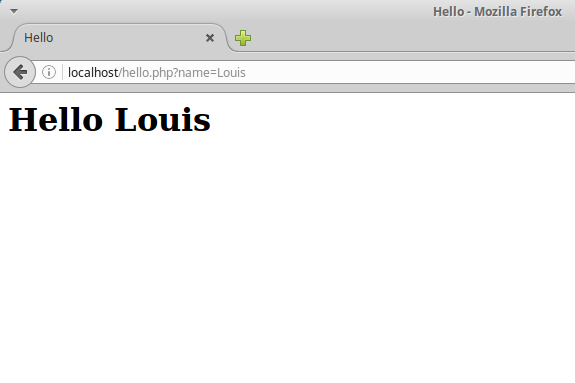
Alternatively, if we access localhost/hello.php?name=Louis it will display:
--------------------------------
--[ MySQL ]
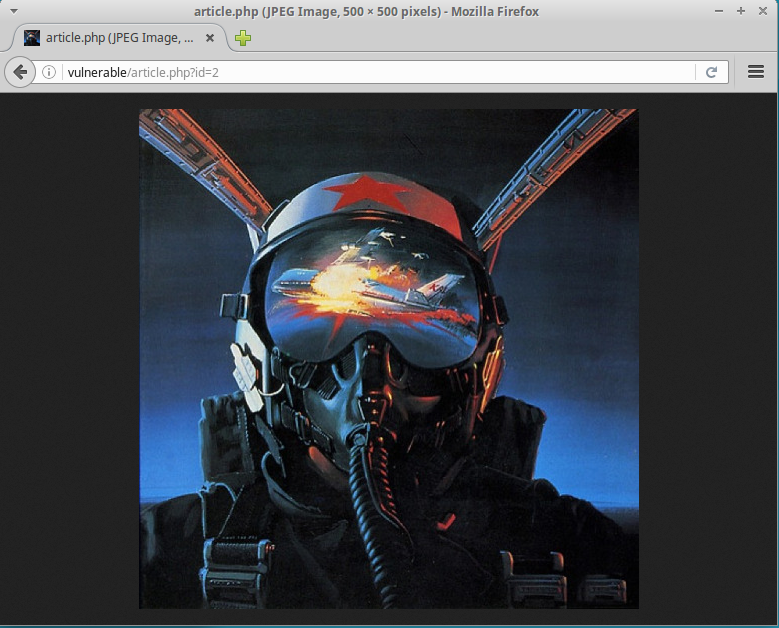
We will now write a script that retrives information from a MySQL database and displays that information in the browser. The data will be an image, and we will determine which image from a variable in the URL. So vulnerable/article.php?id=1 will display a landscape, and vulnerable/article.php?id=2 will display a pilot.
First we create database in MySQL called PTLBC. We do this with the following command:
$ sudo mysqladmin -u root -p create PTLBCWe will than connect to MySQL and enter our password. Following this we will see the MySQL prompt. We then need to add a guest user. We enter the database ‘mysql’ where the user information is kept. We than add an additional user titled ‘guest’ (with password of ‘guest’) with enough privileges to ensure it can access the data. We will use these credentials in out PHP script to retrive our data from MySQL.
$ sudo mysql -u root -p
Enter password:*******
mysql> use mysql;
Database changed
mysql> GRANT SELECT,INSERT,UPDATE,DELETE,CREATE,DROP
    -> ON PTLBC.*
    -> TO 'guest'@'localhost'
    -> IDENTIFIED BY 'guest';
Then we want to change the active database to PTLBC in order to create a new table with our data.
msql> use PTLBC;We will create a table within the PTLBC database called my_images. The table will have two columns ‘id’ which will be a numerical value (indicated by INT), and ‘image’ which will be a LONGBLOB value, to allow an image to be inserted.
mysql> CREATE TABLE my_images(id INT, image LONGBLOB , PRIMARY KEY (id));To use the LOAD_FILE() function you must ensure the user has FILE privilage. You must set this explicitly.
mysql> GRANT FILE on PTLBC.* TO guest@localhost;Ensure parent directory and the files are owned by MySQL
$ sudo chown mysql:mysql /var/lib/mysql-files/You must also ensure that the secure_file_priv variable is set to the directory that contains the files you wish to export, or set with no value (as opposed to a NULL value, which has a different meaning for this variable) to disable the feature.
We can then insert the data into the table.
mysql> INSERT INTO my_images (id, image) VALUES (1, LOAD_FILE('/var/lib/mysql-files/landscape.jpg'));
mysql> INSERT INTO my_images (id, image) VALUES (2, LOAD_FILE('/var/lib/mysql-files/pilot.jpg'));
Then we write our PHP script to retrive these images on our web page. I named it article.php, and created it in the /var/www/html/ directory so it can be accessed in the browser.
1
2
3
4
5
6
7
8
9
10
11
12
13
14
15
16
17
18
19
20
21
<?php
$con = mysql_connect('localhost', 'guest', 'guest');

if (!$con)
{
	die('Could not connect: ' .mysql_error());
}

mysql_select_db("PTLBC", $con);

$article_id = $_GET["id"];

$query = "SELECT `image` FROM `my_images` WHERE `id` = $article_id";

$image = mysql_query($query);

header("Content-type: image/jpg");
echo mysql_result($image, 0);

mysql_close($con);
?>
Then, when we navigate to vulnerable/article.php?id=1 and vulnerable/article.php?id=2, we see the image displayed in the browser.

--------------------------------
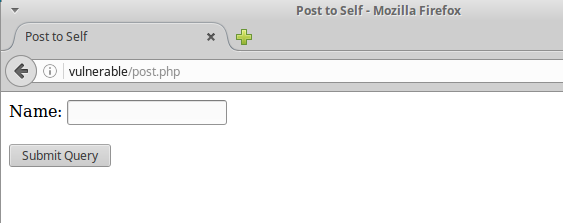
--[ POST Request ]
We are instructed to create a page that sends data to itself using a $_POST request. POST differs to GET in that the data submited through POST is not visible in the address bar, nor the websever logs.
1
2
3
4
5
6
7
8
9
10
11
12
13
14
15
16
17
18
19
20
21
22
23
24
25
26
27
<?php
if (isset($_POST['submit'])) {
	$name = $_POST['name'];
	if ( !empty($name) ) {
		echo 'Hello ',$name,'.';
	}
	else { $error = true; }
}
?>
<html>
<head>
        <title>Post to Self</title>
</head>
<body>
<form method="post" action="<?php echo $_SERVER['PHP_SELF']; ?>">
<?php
	if ($error && empty($name) ) {
		echo 'Please enter your name.<br>' ;
	}
?>
	Name: <input name="name" type="text" value="<?php echo $name; ?>">
	<br>
	<br>
	<input type="submit" name="submit" value"Submit">
</form>
</body>
</html>
The action attribute of the of <form> tag contains the PHP
<?php echo $_SERVER['PHP_SELF']; ?>, which evaluates to the current web page. This, along with the $_POST variables in the first PHP script, effectively POSTs the data to itself.
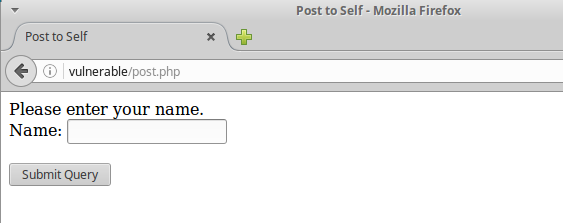
If the user fails to input their name, an error message appears. This is seen in the inital PHP code that sets the value of $error to true, and the PHP code in the form that displays the error message. This allows the page to load wihout triggering the error.
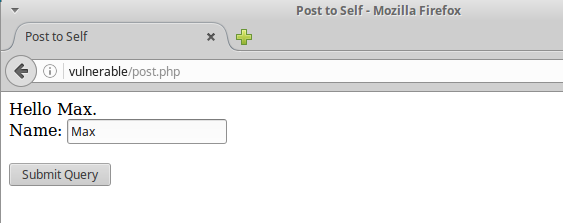
When the data is posted, it echoes it onto the page.
--------------------------------
--[ DNS and whois ]
We are asked to find the name servers, mail servers, and the IP address of pentesterlab.com using the dig command line tool.
Running:
$ dig pentesterlab.com ANYgives us this information:
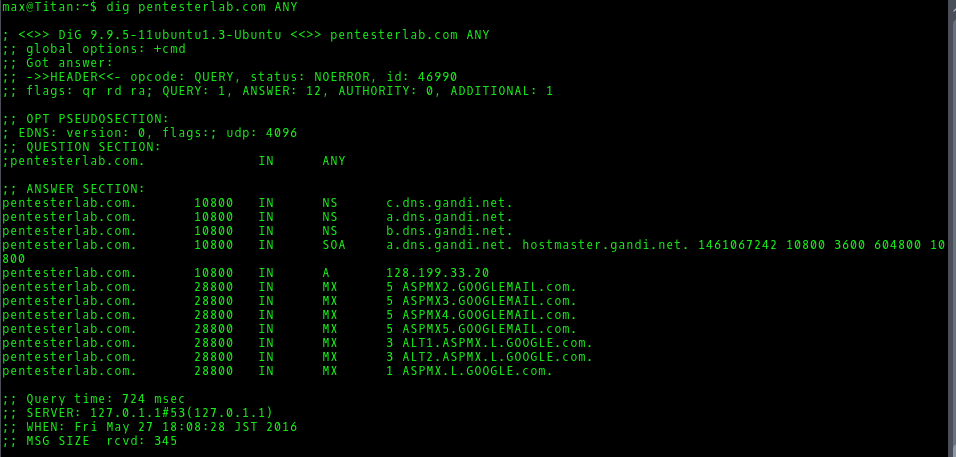
The name servers are listed across from ‘NS’, the mail servers are listed across from ‘MX’, and the IP address is listed as 128.199.33.20.
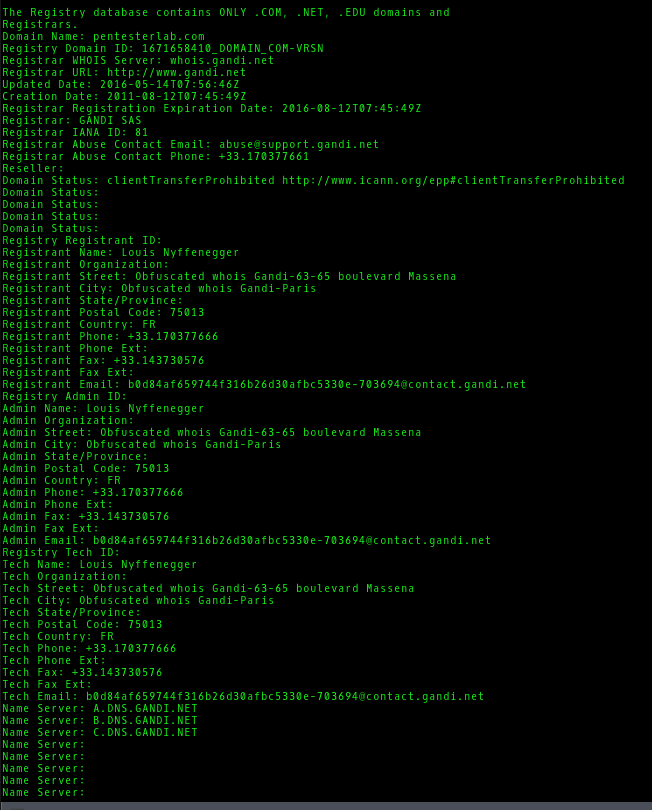
Whois.net is a domain lookup service that lists details about the owner and registrar of the domain. When querying pentesterlab.com we get the following information:

Using the whois commandline tool, we get essentially the same information, with some extras tacked on at the end:
--------------------------------
/*** Part 1 - Linux and Scripting ***/
/*** Part 2 - HTTP ***/
/*** Part 4 - SSL/TLS ***/
/*** Part 5.1 - SQL Injection ***/
/*** Part 5.2 - Local File Include ***/
/*** Part 6 - More SQL Injection ***/
/*** Part 7- FTP and Traffic Analysis COMING SOON ***/
--------------------------------
 Creative Commons Attribution 4.0 International License